Introduction to Turtle Bars
What are Turtle Bars and Why Are They a Must-Try?
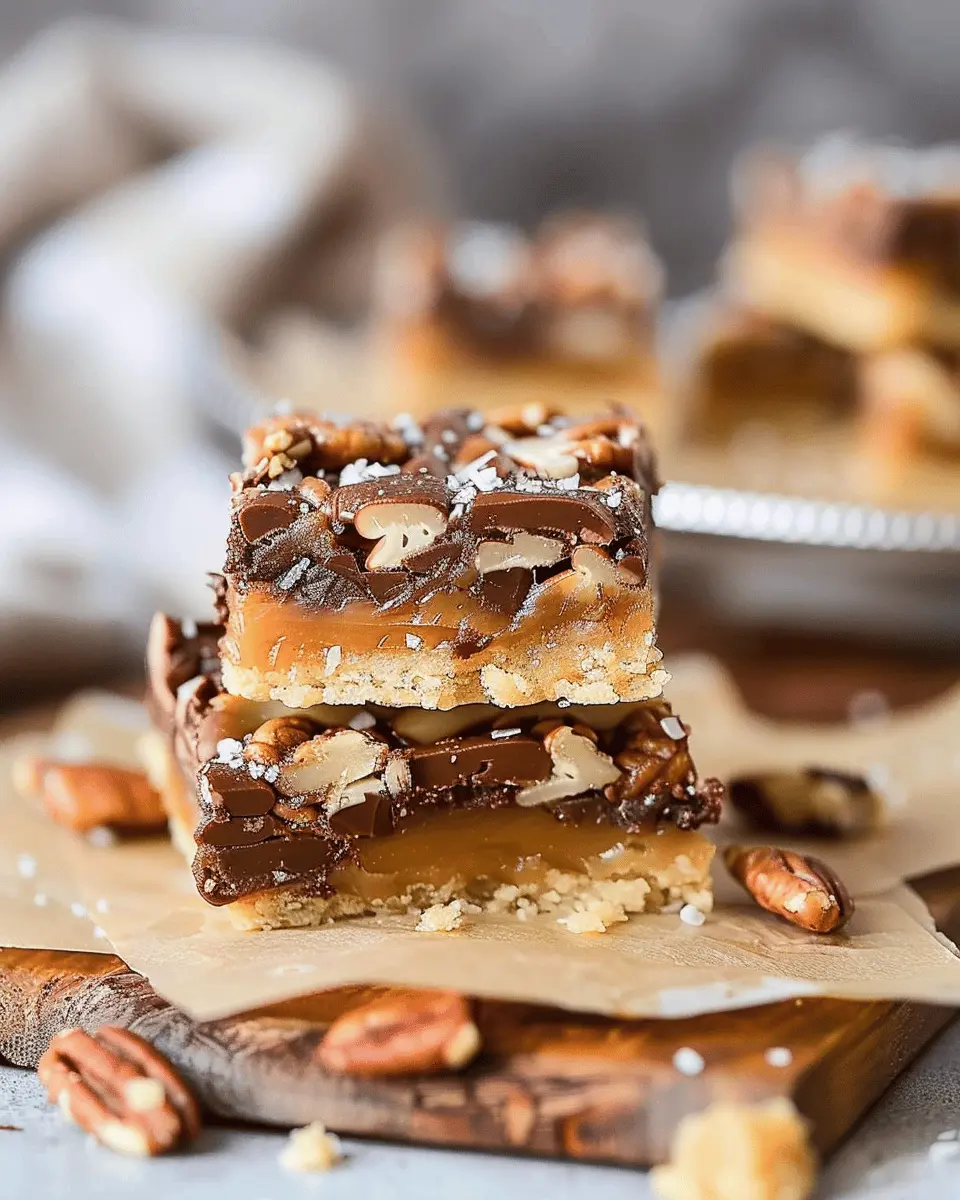
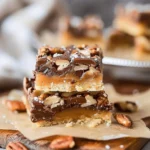
Turtle Bars are a delicious hybrid dessert that combines the best elements of cookies, candy, and caramel in one irresistible treat. Picture this: a chewy base topped with a layer of rich chocolate, all drizzled with gooey caramel and sprinkled with crunchy nuts. If your sweet tooth is tingling, you’re not alone! These scrumptious delights are a fan favorite for good reason.
These bars derive their name from the classic Turtle Candies, which are made with pecans, chocolate, and caramel. The combination of flavors and textures in you guessed it—Turtle Bars—makes them a delightful indulgence for any occasion, whether it’s a casual get-together with friends or a well-deserved treat after a long week at work.
But why are Turtle Bars a must-try? Because they’re incredibly versatile. You can easily customize them to fit your taste preferences or dietary needs. Substitute classic ingredients for alternatives like gluten-free flour or your favorite nut for topping, making them a treat you can enjoy guilt-free!
Pro tip: If you’re making these for a gathering, consider pairing them with a creamy vanilla ice cream or a rich coffee for the ultimate taste experience. Plus, they store beautifully, so you can make them ahead of time and enjoy a sweet morsel whenever the craving strikes.
Curious about the background of Turtle Bars? Their simplicity and homey flavor evoke nostalgia, reminiscent of sweet family gatherings and far-flung memories. So pull out your baking gear, gather your friends, and dive into the world of Turtle Bars. They’re not just a dessert; they’re a slice of joy that brings people together.
If you’re eager to learn more about the sweet science behind Turtle Bars—or sweet treats in general—consider checking out Bon Appétit for more recipes and ideas!
So, what are you waiting for? It’s time to start crafting these decadent delights!
Ingredients for Turtle Bars
Creating the perfect Turtle Bars at home is easier than you might think! Let’s dive into what you need for a delicious batch that everyone will love.
Essentials for the base layer
The foundation of your Turtle Bars is key to their deliciousness. For a rich and satisfying base, gather the following:
- 1 cup of all-purpose flour: This forms the structure of your bars.
- 1/2 cup of brown sugar: It adds sweetness and a lovely caramel hint.
- 1/2 cup of softened butter: Nothing beats the rich, buttery flavor.
- 1/2 cup of chopped pecans: These provide that classic turtle crunch.
If you’re curious about the health benefits of pecans, check out Healthline.
Toppings for that delightful finish
Now, let’s give your Turtle Bars a luscious topping! You’ll want:
- 1 cup of chocolate chips: Semisweet works best for that perfect melt.
- 1 cup of caramel sauce: Look for a quality brand or make your own for that homemade touch.
- Extra pecans for garnish: A sprinkle adds visual appeal and texture.
These toppings are where the magic happens! Get creative by adding a pinch of sea salt on top for contrast. Imagine biting into that rich bar, with gooey caramel and chocolate melting in your mouth—pure bliss!
Preparing Turtle Bars
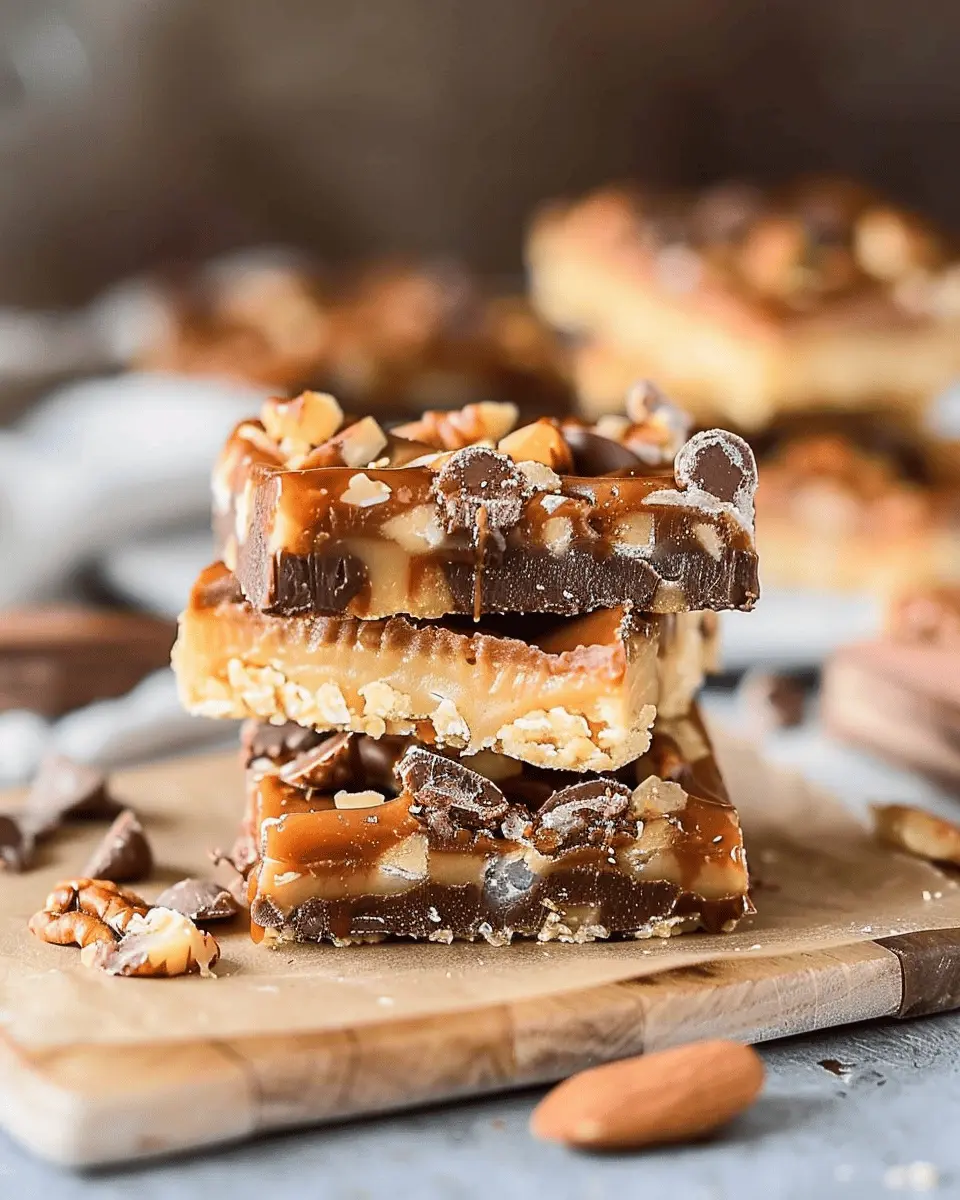
Creating the perfect Turtle Bars is all about layering rich flavors and textures. These delectable treats combine a buttery crust, gooey caramel, luscious chocolate, and crunchy pecans to create a dessert that’s sure to impress. Here’s a step-by-step guide to help you craft these irresistible bars right at home.
Gather Your Ingredients
Before diving into the baking process, it’s essential to have all your ingredients at the ready. Here’s what you’ll need:
-
For the crust:
-
1 cup all-purpose flour
-
1/2 cup unsalted butter, softened
-
1/4 cup granulated sugar
-
1/4 teaspoon salt
-
For the caramel layer:
-
1 cup soft caramel candies (usually found with baking supplies)
-
2 tablespoons heavy cream or whole milk
-
For the chocolate layer:
-
1 cup semi-sweet chocolate chips
-
1 tablespoon vegetable oil (for a smooth consistency)
-
For the topping:
-
1 cup chopped pecans
-
A pinch of sea salt (optional)
Feel free to swap ingredients based on what you have at home. For instance, if you’re allergic to nuts or want a different flavor profile, you could try using almonds or even skipping them altogether!
Prepare the Crust
Now that your ingredients are organized, let’s whip up that crust. Preheat your oven to 350°F (175°C) for optimal baking conditions. Here’s how to get started:
- In a bowl, cream together the softened butter and sugar until smooth.
- Gradually add in flour and salt, mixing until the dough forms.
- Press the mixture into the bottom of a greased 9×9 inch baking dish evenly.
- Bake for 15-20 minutes or until lightly golden. Allow it to cool for a few minutes.
This crust is truly the foundation of your Turtle Bars, so make sure it’s well-prepared for those luscious layers that will follow!
Melt Your Chocolate and Caramel
While the crust is cooling, it’s time to work your magic with the caramel and chocolate:
- In a microwave-safe bowl, combine the caramel candies and heavy cream. Microwave in 30-second intervals, stirring in between until the mixture is smooth and creamy.
- Next, melt the chocolate chips. Combine them with the tablespoon of vegetable oil; this will help maintain that shiny finish. You can do this using a double boiler or again in the microwave, just be cautious to avoid burning it.
Melted chocolate and caramel can also be found in stores if you’re in a rush. However, homemade versions certainly add that extra touch of love to your Turtle Bars.
Assemble the Layers
Now comes the fun part! With your crust cooled, caramel melted, and chocolate ready, it’s time to assemble:
- Pour the melted caramel over the crust, spreading it evenly.
- Top the caramel layer with chopped pecans, gently pressing them in.
- Drizzle or pour the melted chocolate over the pecans, ensuring it covers as much of the surface as possible.
- For an extra flourish, sprinkle a pinch of sea salt on top.
The beauty of assembling Turtle Bars lies in the contrast of textures — creamy caramel, crunchy pecans, and smooth chocolate come together in a symphony of flavor.
Chill and Serve
After assembling your delicious creation, it’s crucial to chill it to ensure everything sets perfectly:
- Place your baking dish in the refrigerator for about 2 hours or until the topping hardens.
- Once set, cut into squares and serve!
These Turtle Bars are not only visually appealing but also make for a delightful treat for gatherings or a simple dessert for yourself on a cozy night in. Check out this useful resource for more dessert tips.
There you have it! Preparation is half the fun, and with this guide, your Turtle Bars are bound to be a hit. Enjoy your baking, and don’t forget to share a piece (or two) with friends!
Variations on Turtle Bars
Gluten-free Turtle Bars
For those who are gluten-intolerant or simply looking to reduce their gluten intake, gluten-free Turtle Bars can be just as delightful! Use almond or coconut flour as a base instead of traditional wheat flour. Not only do these alternatives provide a rich flavor, but they also add a nutty undertone that perfectly complements the caramel and chocolate. Consider adding a pinch of sea salt to enhance the flavor profile! You can also swap out condensed milk for a gluten-free sweetened condensed milk alternative, available at many health food stores or online. Trust me, your gluten-free friends will thank you!
Vegan Turtle Bars
Going plant-based doesn’t mean you have to miss out on enjoying delicious Turtle Bars. To make vegan Turtle Bars, start by replacing butter with vegan margarine or coconut oil. Use a dairy-free chocolate, which is widely available now. For the caramel layer, combine coconut cream and brown sugar as a substitute for traditional caramel. This creates a rich, sweet layer that is indistinguishable from the original.
If you’re feeling adventurous, add some chopped nuts or a layer of dairy-free ice cream for an extra treat.
Turtle Bars are versatile and can be easily adapted to suit various dietary preferences. The best part? These variations don’t compromise on flavor, so you can indulge guilt-free. For more insights on gluten-free and vegan cooking, check out resources like Forks Over Knives for delicious ideas and recipes that fit your lifestyle.
Whichever version you decide to try, you’re bound to create a batch of Turtle Bars that everyone can enjoy!
Cooking Tips and Notes for Turtle Bars
Best Practices for Melting Chocolate
Melting chocolate for Turtle Bars can be a breeze if you follow a few tips. First, consider using a double boiler to gently melt your chocolate. This method helps prevent scorching. If you don’t have one, a microwave works too, but be sure to heat in 30-second intervals, stirring in between. This ensures even melting without burning. For a smooth consistency, add a teaspoon of vegetable oil or shortening to the chocolate. This not only enhances the texture but also makes it easier to drizzle over your Turtle Bars.
How to Store Your Turtle Bars Properly
Proper storage is essential to keep your Turtle Bars fresh and delicious. Allow them to cool completely before storing. Then, cut them into individual pieces and place them in an airtight container. You can keep them at room temperature for up to a week, or in the fridge for longer freshness. If you’re planning to store them for a while, consider wrapping them in plastic wrap and then placing them in a freezer-safe container. Perfect for when the chocolate cravings strike on a rainy day!
For more chocolate melting techniques, check out Serious Eats. And if you’re curious about the best ways to store baked goods, visit The Kitchn.
Serving Suggestions for Turtle Bars
Ideal pairings for a sweet treat
When it comes to enjoying Turtle Bars, the pairing possibilities are endless! Consider serving them with a scoop of vanilla ice cream for a delightful contrast. The creaminess of the ice cream complements the rich caramel and chocolate flavors beautifully. If you’re looking for something refreshing, a side of fresh berries can enhance the sweetness and add a pop of color to your plate.
Feeling adventurous? Why not brew a steaming cup of coffee or herbal tea? The warmth of the drink will balance out the bar’s decadence, making for a comforting afternoon treat. If you’re having friends over, offer a small selection of these beverages as options.
Creative presentation ideas
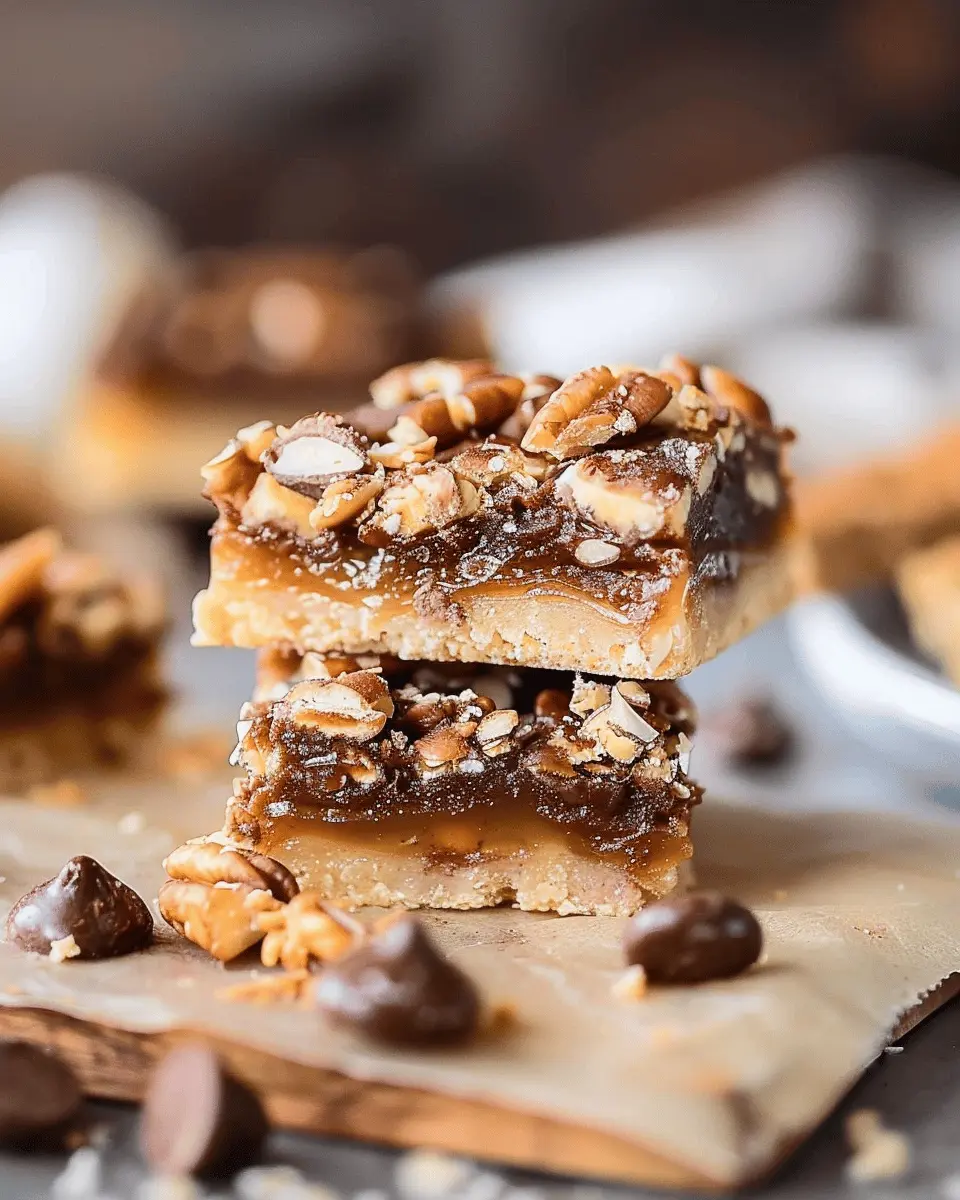
A visually appealing dessert can elevate any gathering. Try slicing your Turtle Bars into smaller squares and stacking them on a decorative plate with a drizzle of caramel sauce on top. Alternatively, a simple sprinkle of sea salt can bring out their flavor. Get creative by using cupcake liners to present each bar individually; this not only looks cute but makes serving easier.
Want to impress? Consider layering your bars in a glass dish with whipped cream and crushed nuts for a dessert parfait.
For more inspiring presentation ideas, check out Martha Stewart’s guide on dessert styling.
By incorporating these suggestions, you’ll turn your Turtle Bars into the star of the show!
Time Breakdown for Turtle Bars
Preparation Time
Getting your Turtle Bars ready is a breeze! You’ll spend about 15-20 minutes whipping up the ingredients. This quick step includes gathering the essentials, mixing, and spreading your crust in the pan. For an efficient prep, set everything out beforehand.
Chilling Time
Once you’ve baked your bars, it’s time for some patience. Allow your Turtle Bars to chill for 2-3 hours in the refrigerator. This not only firms up the chocolate and caramel but intensifies those delectable flavors.
Total Time
In total, you’re looking at around 2.5-3 hours and 20 minutes from start to finish. Not too demanding, right? Considering the sweet reward at the end, this time spent will be entirely worth it. For more quick dessert ideas, check out this resource on easy sweets to satisfy your cravings!
Nutritional Facts for Turtle Bars
Calories per serving
When you’re indulging in turtle bars, knowing the calorie content can help you make conscious decisions. Each serving typically contains around 200-250 calories, which makes them a delightful treat without being overly indulgent.
Key nutritional highlights
Turtle Bars are not just delicious; they also bring some impressive nutritional benefits to the table:
- Healthy Fats: Thanks to ingredients like nuts, you gain heart-healthy fats.
- Protein Punch: With the addition of ingredients like chicken ham or chocolate drizzles, you can boost your protein intake.
- Vitamins and Minerals: Those nuts and the caramel can provide a mix of essential vitamins and minerals, supporting overall health.
For a deeper dive into the nutritional benefits of your ingredients, check out this resource from the USDA FoodData Central. Eating a balanced treat, like these turtle bars, can definitely find a place in your healthy lifestyle!
FAQs about Turtle Bars
Can I make these Turtle Bars ahead of time?
Absolutely! One of the best aspects of Turtle Bars is that they can be prepared in advance. In fact, making them ahead of time can enhance their flavor as the ingredients meld together. Simply bake, cool, and store them in an airtight container at room temperature for up to a week. Want to keep them longer? Freeze them for up to three months, then thaw in the refrigerator before serving. Perfect for busy weeknights or unexpected guests!
What’s the best way to cut Turtle Bars?
Cutting Turtle Bars can be a bit tricky because of their deliciously gooey layers. Here are a few tips to get the cleanest cuts possible:
- Cool Completely: Ensure your bars are completely cooled before cutting; this helps them set and makes for easier slicing.
- Use a Sharp Knife: A sharp knife glides through the layers, while a dull one can create a mess. You can warm the knife slightly under hot water for even smoother cuts.
- Line with Parchment Paper: If you line your baking dish with parchment, it makes it super easy to lift the entire batch out for cutting.
How can I modify the recipe for allergies?
When it comes to allergies, it’s essential to customize the Turtle Bars recipe. Here are some common substitutions:
- Nuts: Omit the nuts if there are nut allergies, or replace them with sunflower seeds for a similar crunch.
- Dairy: Use dairy-free chocolate and coconut milk instead of heavy cream in the caramel for a dairy-free option.
- Gluten: Swap regular flour with a gluten-free blend to accommodate gluten sensitivity.
With these modifications, you can still enjoy Turtle Bars without worrying about allergens. For detailed allergen information, check authoritative resources like the FDA website.
Embrace the joy of baking and personalize your Turtle Bars—they’re bound to be a hit!
Conclusion on Turtle Bars
Summary of the delicious experience
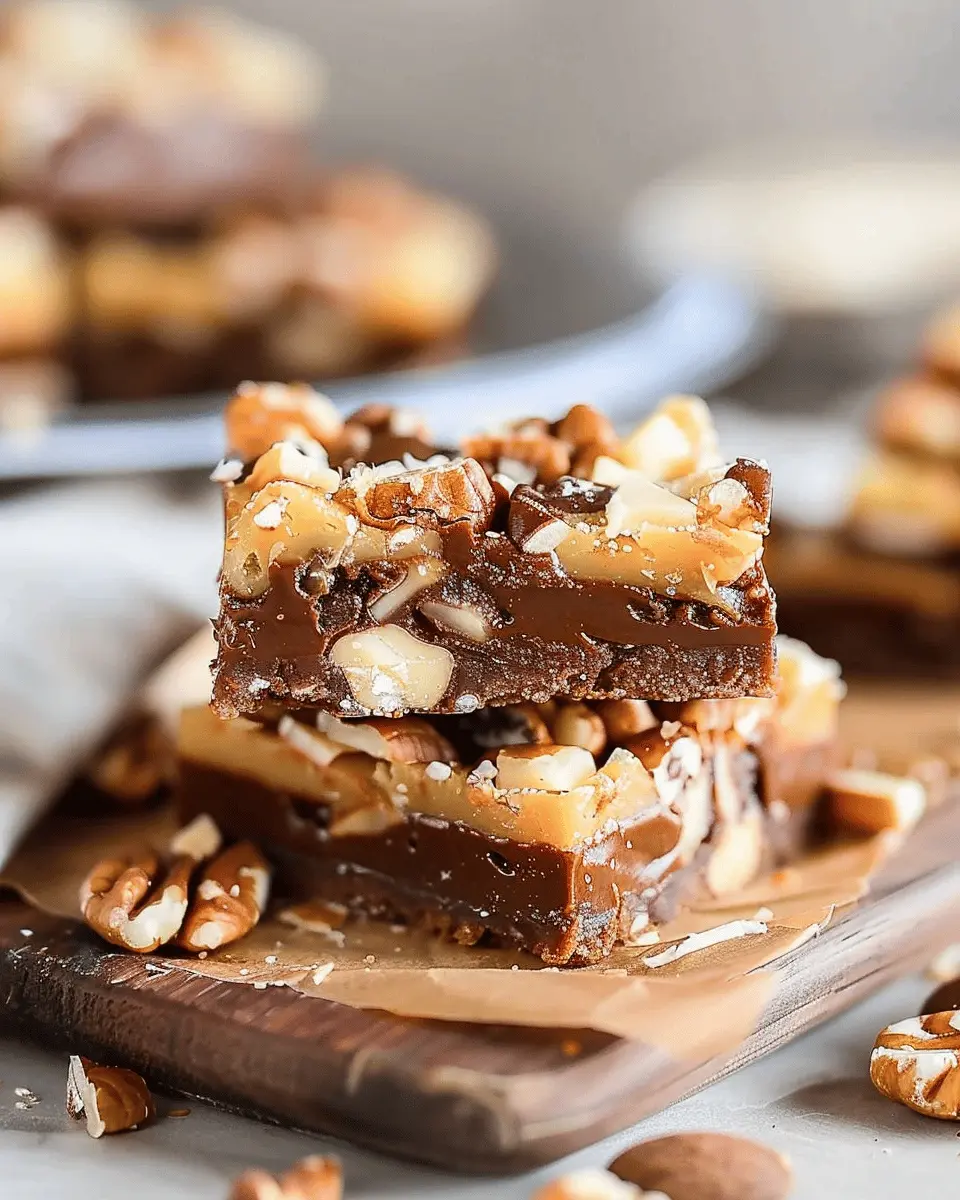
To wrap things up, Turtle Bars offer a delightful journey of flavors that blend chocolate, caramel, and pecans in each irresistible bite. The crunchy texture paired with the smooth sweetness makes these bars a standout treat. Perfect for sharing at gatherings or indulging during a quiet night in, they bring a touch of comfort and joy.
When you consider the ease of preparation and the satisfaction of enjoying your creation, it’s easy to see why these bars are quickly becoming a favorite.
Why not treat yourself and try making them today? For extra tips and variations, check out sites like Food Network or Serious Eats for inspiration!
PrintTurtle Bars: Easy Indulgence for Your Homemade Dessert Cravings
Delicious and easy-to-make Turtle Bars that satisfy your dessert cravings.
- Prep Time: 15 minutes
- Cook Time: 30 minutes
- Total Time: 45 minutes
- Yield: 24 bars 1x
- Category: Desserts
- Method: Baking
- Cuisine: American
- Diet: Vegetarian
Ingredients
- 1 cup unsalted butter
- 1 cup brown sugar
- 2 cups all-purpose flour
- 1 cup chocolate chips
- 1 cup chopped pecans
Instructions
- Preheat your oven to 350°F (175°C).
- Cream together the butter and brown sugar until smooth.
- Gradually mix in the flour until just combined.
- Spread half of the batter into a greased baking pan.
- Sprinkle chocolate chips and chopped pecans over the batter.
- Drop remaining batter on top in spoonfuls.
- Bake for 25-30 minutes or until golden brown.
- Allow to cool before cutting into bars.
Notes
- For extra flavor, add a pinch of salt to the batter.
- Store any leftovers in an airtight container.
Nutrition
- Serving Size: 1 bar
- Calories: 250
- Sugar: 15g
- Sodium: 200mg
- Fat: 12g
- Saturated Fat: 7g
- Unsaturated Fat: 3g
- Trans Fat: 0g
- Carbohydrates: 30g
- Fiber: 1g
- Protein: 3g
- Cholesterol: 30mg
Keywords: Turtle Bars, dessert, homemade