
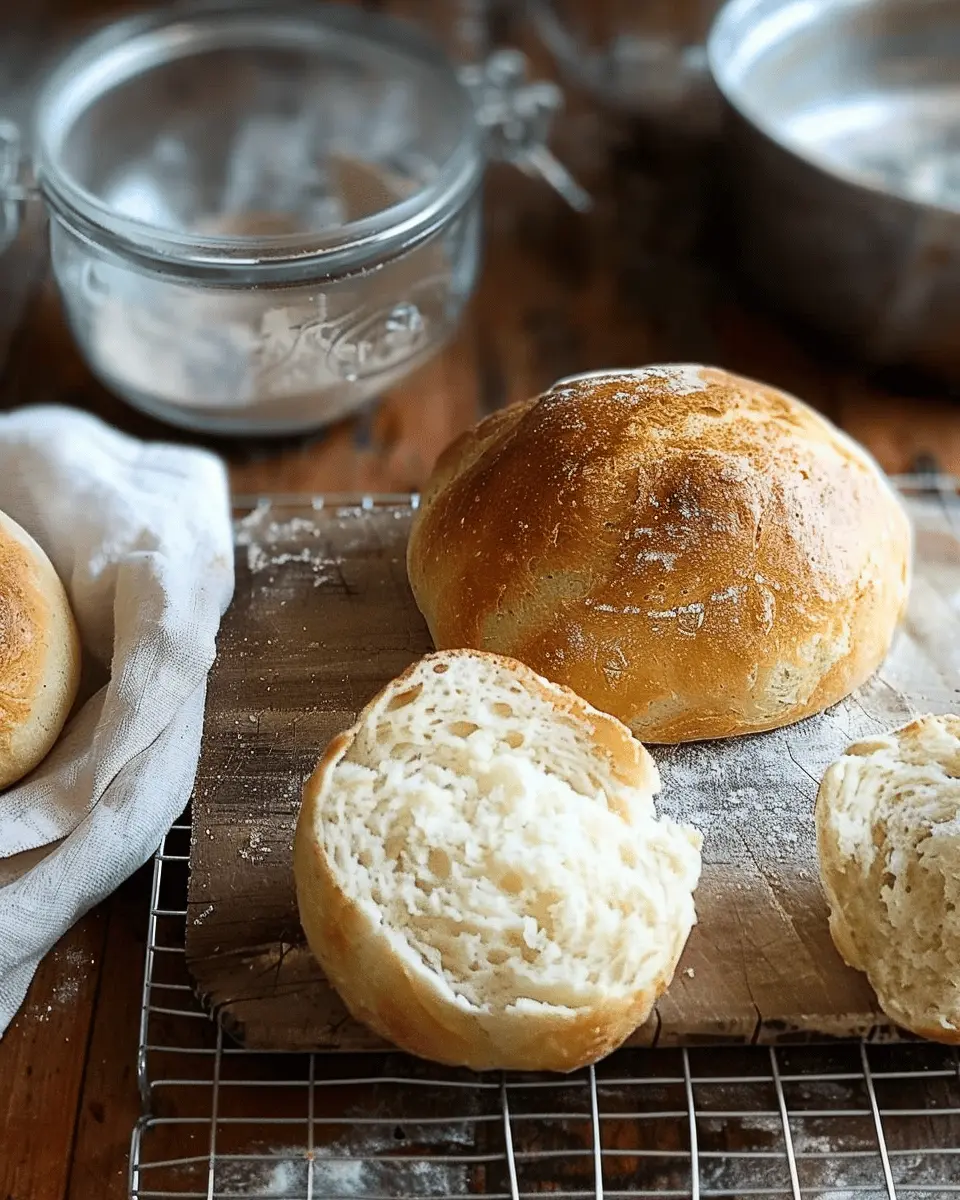
Introduction to My Mother’s Peasant Bread
In our fast-food world, where convenience often reigns supreme, there’s something deeply fulfilling about making your own homemade bread. It’s not just about the delicious aroma filling your kitchen; it’s about connecting with traditions, cultivating patience, and enjoying the simple joy of creating something from scratch. For me, this connection is beautifully encapsulated in my mother’s peasant bread, a recipe that has been passed down through generations, and one I cherish deeply.
Why Homemade Bread Matters in a Fast-Food World
In recent years, studies have shown an increase in interest in homemade cooking, especially among young professionals. A survey by the Institute of Culinary Education found that 75% of millennials enjoy cooking at home, which speaks volumes about our desire to reconnect with wholesome ingredients. Making your own bread can be a fantastic remedy to the fast-paced lifestyle many of us navigate every day.
When you dedicate time to creating my mother’s peasant bread, you’re not just baking; you’re cultivating mindfulness. Watching the dough rise and come together can be meditative, offering a refreshing break from the busyness of life. Plus, making bread is no longer the daunting task it once seemed. This recipe is surprisingly simple and requires minimal ingredients.
- Ingredients you’ll need:
- Flour
- Water
- Yeast
- Salt
- A splash of love (which perhaps is the most crucial ingredient!)
The health benefits of choosing homemade also can’t be overlooked. You have control over everything that goes into your bread—no preservatives or unhealthy additives. When you eat a slice of my mother’s peasant bread, you can feel good knowing exactly what’s in it. In a world cluttered with options, your own creations can stand out, allowing for creativity and personalization.
If you’re eager to dive deeper into the art of bread-making, check out sources like King Arthur Baking, which provides excellent tips and resources to get started on your bread-baking journey.
When you embrace the process of making my mother’s peasant bread, you not only nourish your body with wholesome ingredients but also nourish your spirit by fostering a sense of community—whether it’s sharing a warm loaf with friends or simply enjoying a slice with your morning coffee. This homemade bread is more than just a recipe; it’s a love letter to all things comforting and good.
Ingredients for My Mother’s Peasant Bread
When it comes to my mother’s peasant bread, simplicity is key. The ingredients are all about what you probably already have in your pantry. Here’s a quick rundown of the essentials that bring this rustic loaf to life.
Essential pantry staples
- All-purpose flour: The backbone of any bread; it creates that perfect chewy texture.
- Yeast: Instant or active dry works wonders to help your dough rise.
- Water: Just warm enough to activate the yeast but not too hot to kill it.
- Salt: Essential for flavor; never skip this! It also enhances the yeast activity.
These ingredients play a crucial role in achieving the perfect loaf. If you’re curious about the science behind how bread rises, check out this detailed explanation from King Arthur Baking.
Optional add-ins for flavor
Feeling adventurous? Here are some delicious ideas to elevate my mother’s peasant bread:
- Herbs: Rosemary, thyme, or oregano add a beautiful aroma and taste.
- Cheese: Incorporate grated cheese like parmesan or even a sprinkle of feta for extra richness.
- Turkey bacon or chicken ham: Chop and mix in for a savory twist.
- Seeds: Flaxseeds or sunflower seeds can add a delightful crunch.
These optional additions really allow you to personalize your bread and impress your friends and family! So, why not give it a try?
Step-by-step Preparation of My Mother’s Peasant Bread
When I think about my childhood, the scent of freshly baked bread instantly brings me back to my mother’s kitchen. My mother’s peasant bread is not just a recipe; it’s a way to relive those memories and share meaningful moments with family and friends. The best part? This bread is a straightforward process, perfect for young professionals who may think baking is reserved for weekends. Let’s dive into the preparation step-by-step!
Gathering Your Tools and Ingredients
Before diving into the baking process, it’s essential to gather everything you need. Here’s a quick list of tools and ingredients to get you started:
Tools:
- Large mixing bowl
- Measuring cups and spoons
- Wooden spoon or spatula
- Clean kitchen towel
- Loaf pan or baking sheet
- Oven thermometer (optional)
Ingredients:
- 4 cups all-purpose flour
- 2 tsp salt
- 1½ tsp instant yeast
- 2 cups warm water (not hot, aim for 110°F)
- A sprinkle of sugar (to feed the yeast)
Make sure you have your favorite backdrop music playing to energize you as you bake!
Mixing the Dry Ingredients
In a large mixing bowl, combine your dry ingredients — the flour, salt, and instant yeast. It’s crucial to mix these well because you want the yeast to distribute evenly throughout the flour. I like to use my whisk for this; the fluffy whisking adds a bit of excitement to the process! If you’re looking for tips on the science of bread-making, you can check out resources from King Arthur Baking.
Combining Wet and Dry Ingredients
Once your dry ingredients are nicely mixed, it’s time to bring in the wet ingredients. Warm water should be added gradually to the bowl, mixing with your wooden spoon or spatula. Don’t worry about over-mixing; this dough will be shaggy. It reminds me of when I was a kid, and my mother would say, “The messier, the better!” Trust the process, my friend!
Kneading the Dough
You’ll find that this stage is therapeutic. Lightly flour a clean surface and transfer the dough. For about 10 minutes, knead the dough with your hands. When it’s elastic and smooth, you’ve nailed it! If it’s sticking too much, add a touch more flour. Don’t forget to enjoy the tactile experience!
First Rise — Letting the Magic Happen
Place your kneaded dough back in the mixing bowl and cover it with a clean towel. Now, let it rise for about 1 to 2 hours or until it doubles in size. This is the moment when the yeast works its magic! I often use this time to clean up a bit or prep for my next meal.
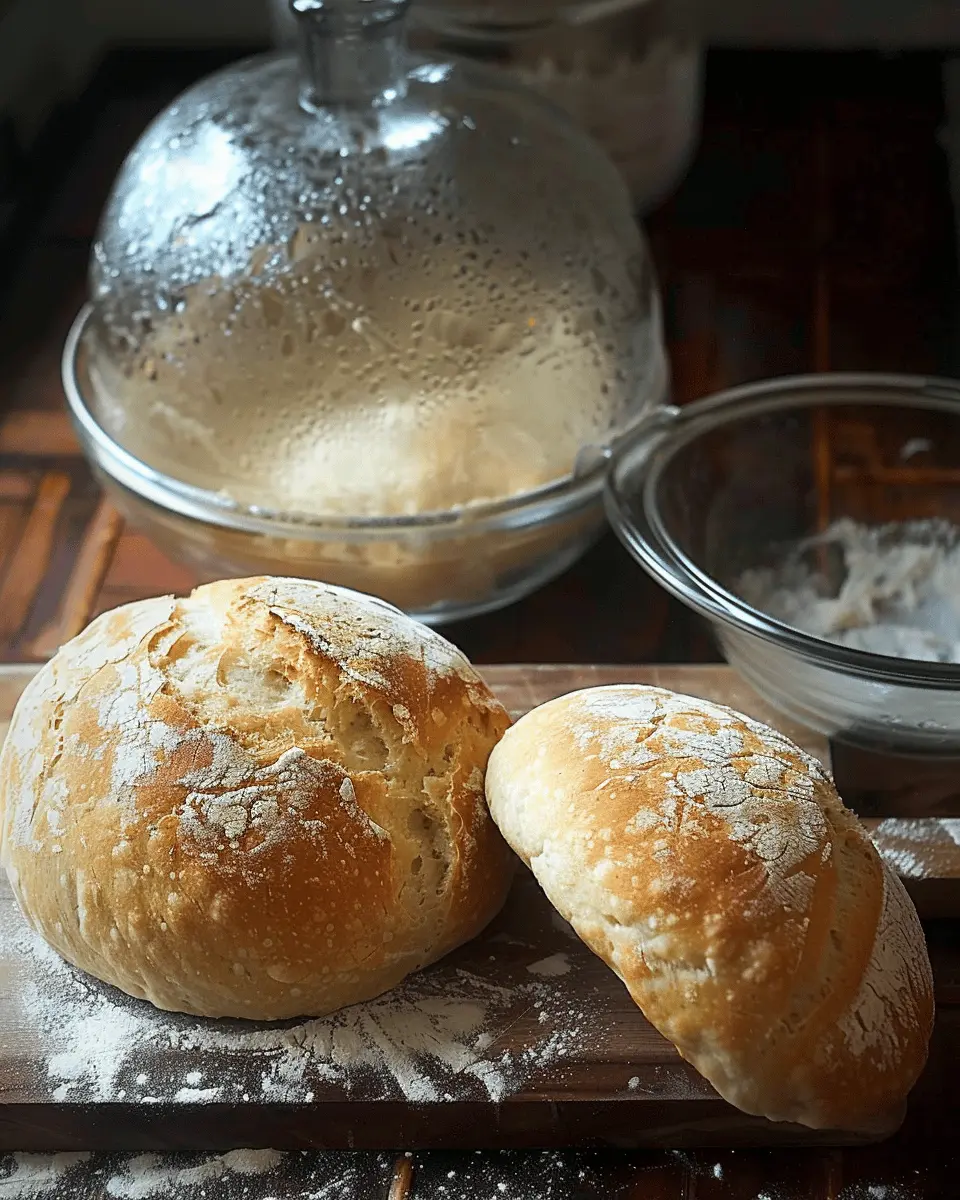
Shaping the Loaves
Once your dough has risen, it’s time to shape it. Lightly punch down the dough and transfer it to a floured surface. Divide it into two or more pieces, depending on your desired loaf sizes. Shape each piece into a round or oval loaf.
Letting It Rise Again — Patience Pays Off
After shaping, you’ll want these loaves to rise again for about 30-45 minutes. Cover them with the towel once more. This is crucial because a second rise gives the bread a lighter texture. Patience is key!
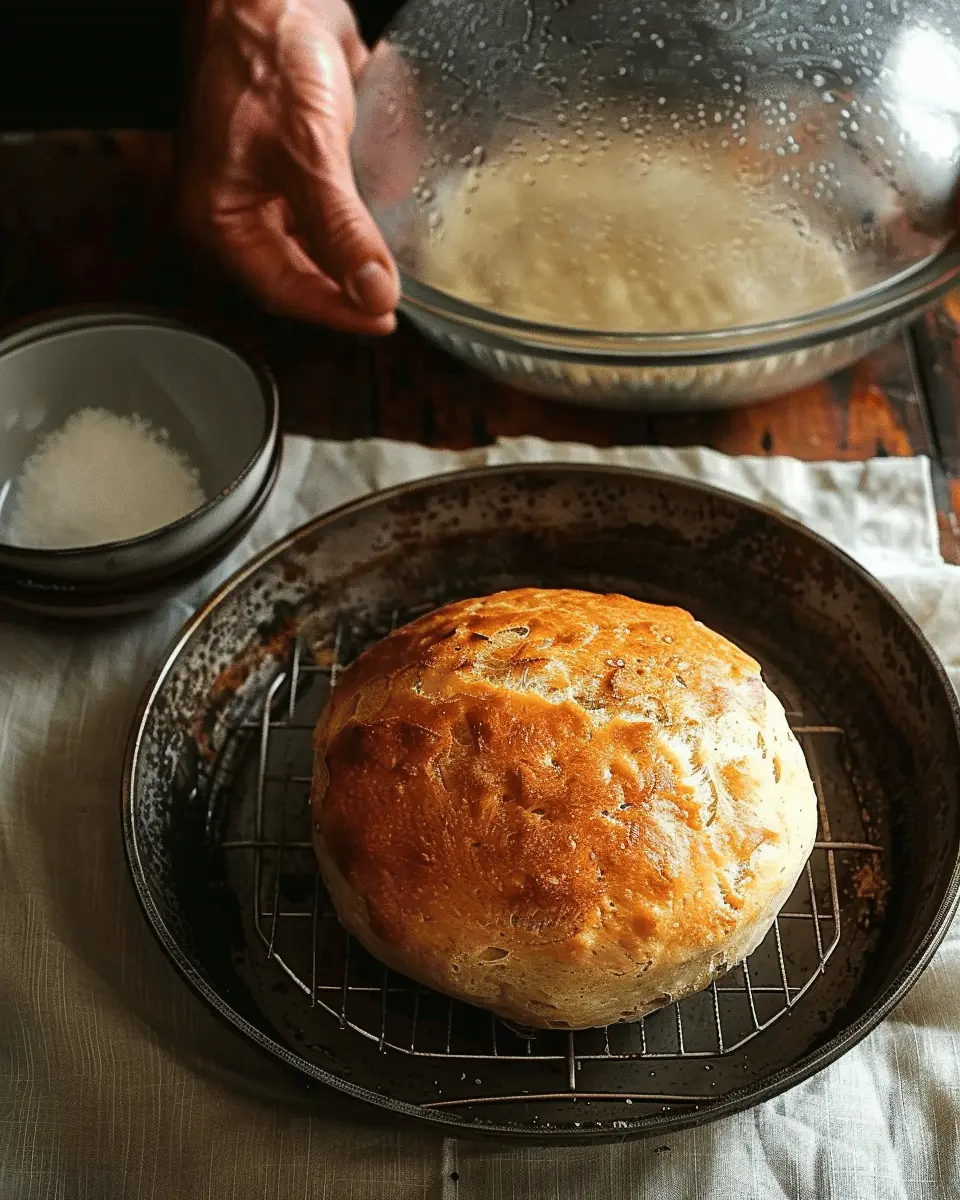
Baking Your Peasant Bread to Perfection
Preheat your oven to 375°F. Once your loaves have risen, place them on a baking sheet or into their loaf pans. Bake for about 30-35 minutes or until they’re golden brown, and you get that hollow sound when you tap the bottom.
When they emerge from the oven, resist the urge to slice too soon! Let them cool for about 30 minutes. Trust me; the wait is worth it!
Making my mother’s peasant bread at home isn’t just about baking; it’s about creating memories. So gather your friends, share a slice, and relish the delightful experience of engaging in this rustic tradition. Happy baking!
Variations on My Mother’s Peasant Bread
Baking is all about creativity, and my mother’s peasant bread serves as the perfect canvas for personal touches! Whether you’re craving something herbaceous or cheesy, there are countless variations to explore.
Adding herbs and spices for a twist
Boosting the flavor of my mother’s peasant bread is as simple as adding a few herbs and spices. Consider mixing in:
- Rosemary or Thyme: Fresh or dried, these herbs can add an aromatic punch that elevates the bread’s rustic charm.
- Garlic Powder: A sprinkle of garlic powder in the dough gives a savory note that pairs beautifully with butter.
- Chili Flakes: For those who love a kick, adding a teaspoon of chili flakes can make your bread uniquely zesty.
These herbs not only enhance taste but also infuse your kitchen with delightful aromas that will have everyone asking, “What’s baking?”
Incorporating cheese for a savory delight
Cheese lovers, rejoice! Adding cheese to my mother’s peasant bread can turn it into a heartier dish. Here are some delicious options to consider:
- Cheddar: Grate some sharp cheddar for a rich, melty texture. It adds a wonderful depth of flavor.
- Feta: Crumbled feta can lend a salty, tangy kick that contrasts beautifully with the dough’s simplicity.
- Parmesan: Mixing in grated Parmesan gives a nutty flavor and crisp texture when baked.
Experimenting with these additions not only enhances the bread but can also turn it into a meal all on its own. Pair it with a light salad or a bowl of soup, and you have a delicious dish that’s sure to impress.
For deeper insights on baking variations, check out resources like America’s Test Kitchen for expert tips!
Cooking Tips and Notes for My Mother’s Peasant Bread
Common Mistakes to Avoid
When making my mother’s peasant bread, it’s easy to encounter a few pitfalls. The most common mistake is not allowing the dough enough time to rise. Patience is key—give it at least an hour or until it doubles in size. Another frequent error is skipping the preheating step for your oven or baking vessel. A hot surface is essential for that perfect crust!
Also, make sure to measure your flour accurately. Too much can lead to a dense loaf. For a light, airy texture, consider using the “spoon and level” method; gently spoon flour into your measuring cup and level it off without packing.
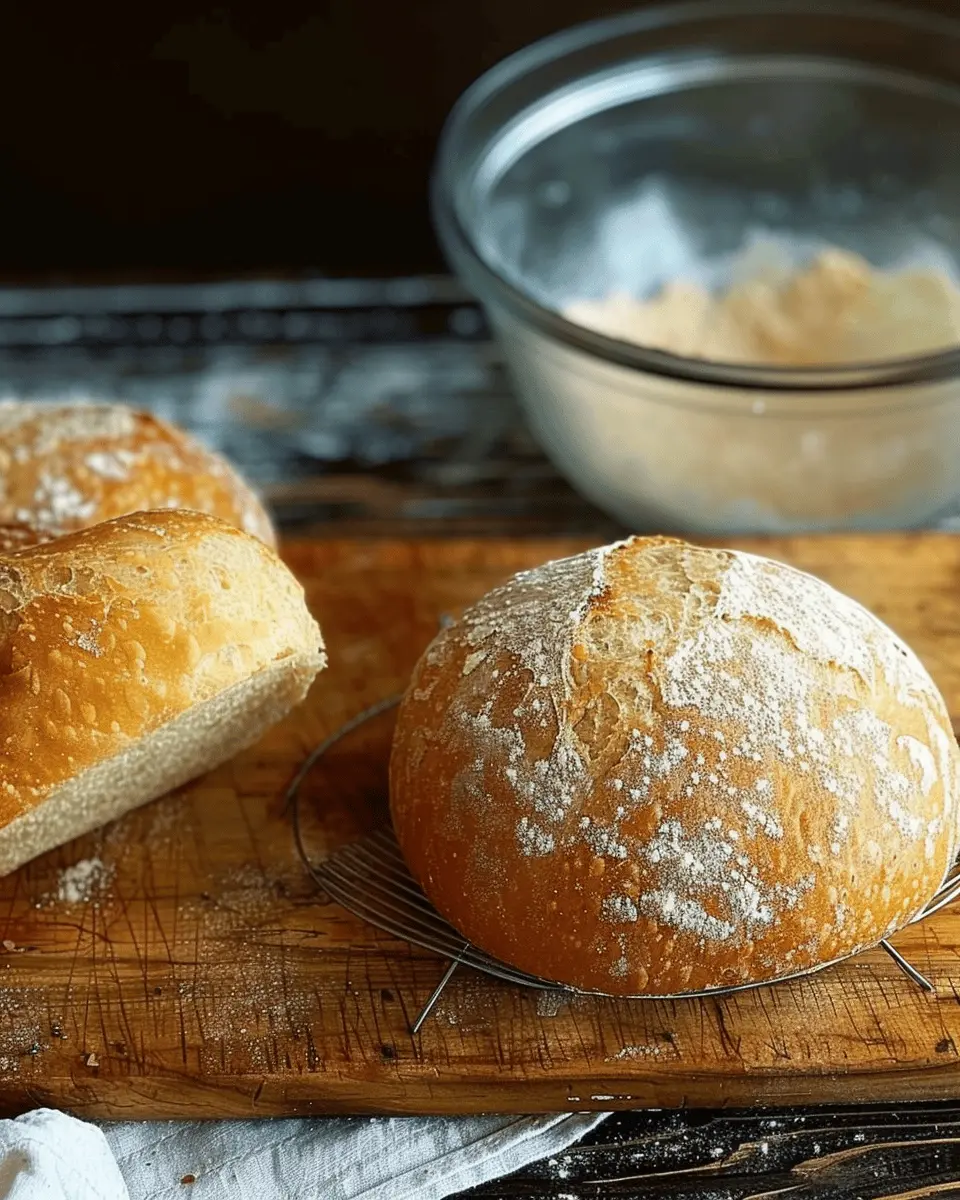
Tips for Achieving the Perfect Crust
To achieve that delightful crunch on the outside of my mother’s peasant bread, preheat your Dutch oven or cast iron pot. The steam that builds up during baking will create a beautiful crust.
Here are a few pointers to enhance your crust:
- Bake with a lid: This traps steam, helping the dough rise before it sets.
- Use high heat: Starting at 450°F (230°C) will give your bread that golden finish.
- Slash the top: A few strategic cuts allow steam to escape while adding character to your loaf.
For more tips on bread baking, check out the King Arthur Baking Company for expert advice.
Happy baking!
Serving Suggestions for My Mother’s Peasant Bread
When it comes to enjoying my mother’s peasant bread, the possibilities are endless! This rustic loaf is not just delicious on its own; it also pairs beautifully with a variety of toppings and meals.
Best toppings and spreads
Start your taste adventure with these tasty toppings:
- Herbed butter: A simple blend of butter, garlic, and fresh herbs can elevate this bread to another level.
- Cream cheese and chives: Light and flavorful, this spread is always a hit.
- Avocado smash: Perfect for brunch; add a sprinkle of red pepper flakes for a kick.
- Hummus or bean spread: Dip your bread into a rich chickpea mixture for a filling snack.
Looking to explore unique spreads? Check out this guide on bread spreads.
Pairing suggestions for meals
My mother’s peasant bread complements a wide range of meals. Consider serving it with:
- Soups and stews: The hearty nature of this bread makes it the perfect companion for a comforting bowl of chicken soup.
- Salads: Pair with a light side salad topped with grilled chicken or turkey bacon for a wholesome lunch.
- Cheese platters: Don’t shy away from adding cheeses like aged cheddar or creamy brie for a delightful appetizer.
By mixing and matching these toppings and pairings, you’ll find that my mother’s peasant bread is truly versatile. So, how do you plan to enjoy it?
Time Breakdown for My Mother’s Peasant Bread
When you decide to bake my mother’s peasant bread, understanding the timing can help you plan your day and make the process easier. Here’s a simple breakdown of the essential time components:
Preparation Time
The initial preparation for this loaf takes about 15-20 minutes. You’ll gather your ingredients and mix them together, creating a simple dough that’s surprisingly easy to work with.
Rising Time
After preparing, let the dough rise for 1-2 hours. This is the most magical part; during this time, the dough will develop flavor and texture. It’s a perfect opportunity to unwind or tackle other chores.
Baking Time
Baking your peasant bread will take around 30-40 minutes. You’ll want that crust to be a beautiful golden brown—your home will be filled with delightful aromas!
Total Time
In total, from start to finish, you’re looking at approximately 2 to 3 hours, factoring in the rising period and baking time. Remember, most of this time isn’t hands-on, so you can easily multitask!
For a deeper dive into bread-making techniques, head over to King Arthur Baking for expert tips and resources. Happy baking!
Nutritional Facts for My Mother’s Peasant Bread
Calories per slice
When you’re indulging in a slice of my mother’s peasant bread, it’s always helpful to know what you’re getting. Each slice typically contains about 100–120 calories. This means you can enjoy it guilt-free, whether it’s for breakfast or as an accompaniment to dinner.
Basic nutritional breakdown
Let’s break it down a bit further:
- Carbohydrates: Approximately 20-25 grams per slice. A great source of energy!
- Protein: Around 3-4 grams. While not a complete protein, it does support your daily intake.
- Fat: Roughly 1-2 grams, depending on the ingredients, making it a heart-healthy choice.
- Fiber: Usually 1-2 grams. Whole grain options can boost this number, enhancing digestive health.
Here’s the exciting part: trying my mother’s peasant bread could be a memorable experience. Pair it with olive oil or homemade spreads for a delightful treat! If you’re interested in learning more about the nutritional benefits of bread, check out resources like the USDA’s Nutrition Database.
Incorporating this simple bread into your diet can be a game-changer. What’s your favorite way to enjoy it?
FAQs about My Mother’s Peasant Bread
Can I make this bread without a stand mixer?
Absolutely! While using a stand mixer can simplify the mixing process, my mother’s peasant bread can easily be made by hand. Just combine the ingredients in a large bowl and mix until you have a shaggy dough. Knead it on a floured surface for about 8-10 minutes until it becomes smooth and elastic. This hands-on approach not only works perfectly but also gives you a deeper connection to the baking process. Plus, there’s something therapeutic about kneading dough—it can be quite a stress reliever!
How do I store leftover peasant bread?
To keep your peasant bread fresh, wrap it tightly in plastic wrap or foil once it has cooled completely. If you’re planning on enjoying it over several days, storing it in a bread box is ideal, as it allows for proper airflow. For longer storage, consider freezing individual slices. Just pop them in a freezer-safe bag, and they can last up to three months. When you’re ready to indulge again, simply thaw or toast them for a deliciously warm treat!
What’s the best way to reheat this bread?
Reheating your mother’s peasant bread can bring back its fresh-baked flavor. For whole loaves, preheat your oven to 350°F (175°C), wrap the bread in aluminum foil, and heat for about 10-15 minutes. If you’re working with slices, a toaster oven is perfect for reviving that delightful crustiness you love. Just don’t forget to keep an eye on them to avoid toasting too much—no one enjoys burnt bread!
For more tips on bread storage and reheating, check out resources from the Bread Lab or King Arthur Baking. Enjoy your baking!
Conclusion on My Mother’s Peasant Bread
Embracing the joy of homemade bread in your kitchen
Baking my mother’s peasant bread is not just about the final product; it’s about the experience of creating something wholesome and nourishing. The aroma that fills your kitchen as it bakes is nothing short of magical, transporting you back to cozy family gatherings.
As you embrace this simple yet rewarding recipe, you’ll likely find it becomes a staple in your home. Besides being delicious, homemade bread can be paired with countless meals. Whether you’re enjoying it with Turkey Bacon for breakfast or alongside a fresh salad, the possibilities are endless!
If you miss the nuances of baking, consider exploring more baking techniques through resources like King Arthur Baking or join a community where fellow bread enthusiasts share tips and inspiration. Remember, every loaf you bake becomes a cherished memory. Happy baking!
PrintMy Mother’s Peasant Bread: The Best Easiest Homemade Delight

My Mother’s Peasant Bread is the easiest and tastiest homemade bread you will ever make, perfect for any meal.
- Prep Time: 15 minutes
- Cook Time: 35 minutes
- Total Time: 1 hour 50 minutes
- Yield: 1 loaf 1x
- Category: Bread
- Method: Baking
- Cuisine: Italian
- Diet: Vegetarian
Ingredients
- 4 cups all-purpose flour
- 2 teaspoons salt
- 1 tablespoon sugar
- 2 tablespoons active dry yeast
- 1 ½ cups warm water
- 2 tablespoons olive oil
Instructions
- In a large bowl, combine the warm water, sugar, and yeast. Let it sit for about 5 minutes until frothy.
- Add the flour, salt, and olive oil to the yeast mixture and mix until a dough forms.
- Knead the dough on a floured surface for about 8-10 minutes until smooth.
- Place the dough in a greased bowl, cover, and let it rise in a warm place for about 1 hour.
- Punch down the risen dough and shape it into a loaf.
- Place the loaf in a bread pan and let it rise again for about 30 minutes.
- Bake at 375°F (190°C) for 30-35 minutes until golden brown.
Notes
- This bread is best served warm with butter.
- Feel free to add herbs or cheese for additional flavor.
Nutrition
- Serving Size: 1 slice
- Calories: 150
- Sugar: 1g
- Sodium: 250mg
- Fat: 3g
- Saturated Fat: 0.5g
- Unsaturated Fat: 2g
- Trans Fat: 0g
- Carbohydrates: 30g
- Fiber: 1g
- Protein: 4g
- Cholesterol: 0mg
Keywords: bread, homemade, peasant bread, easy recipe