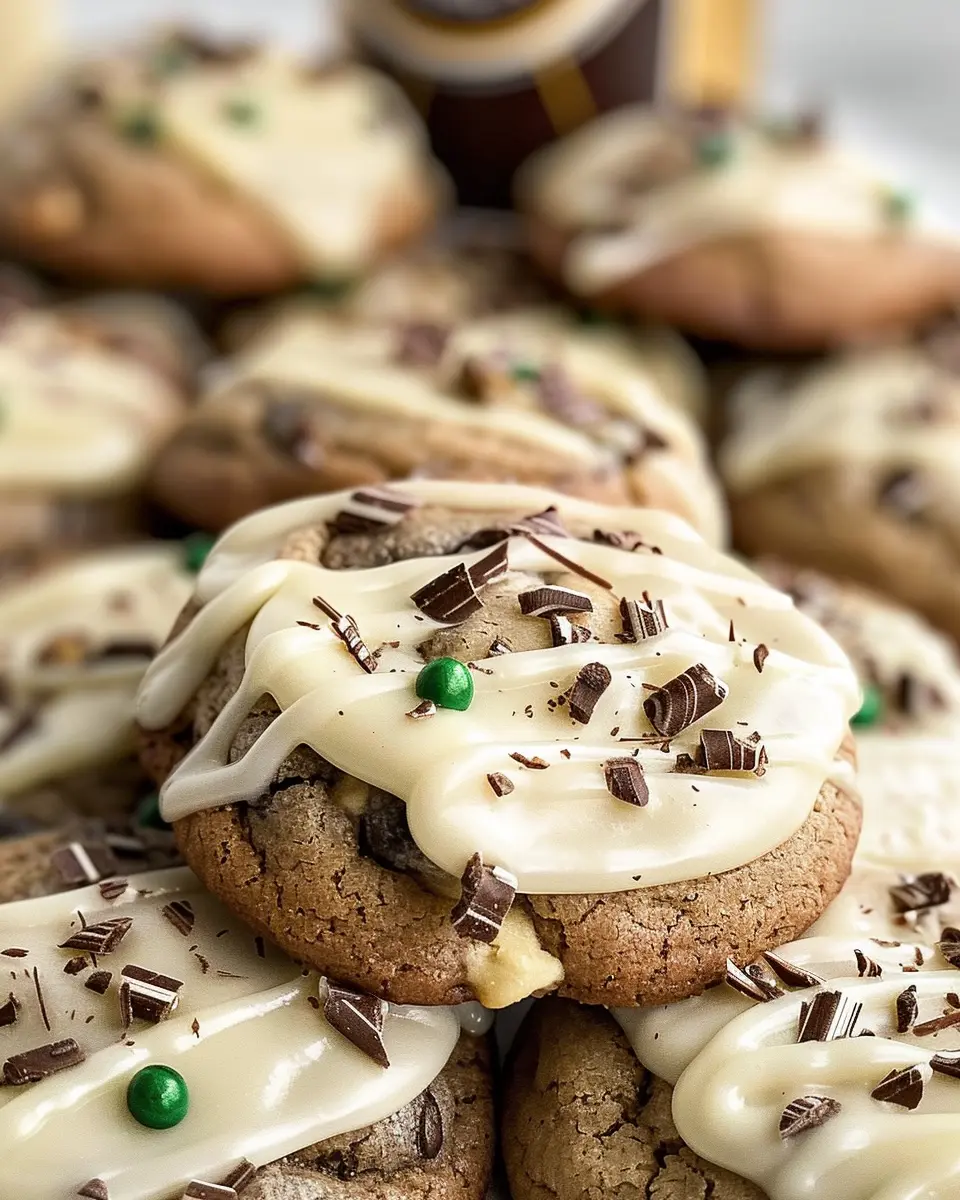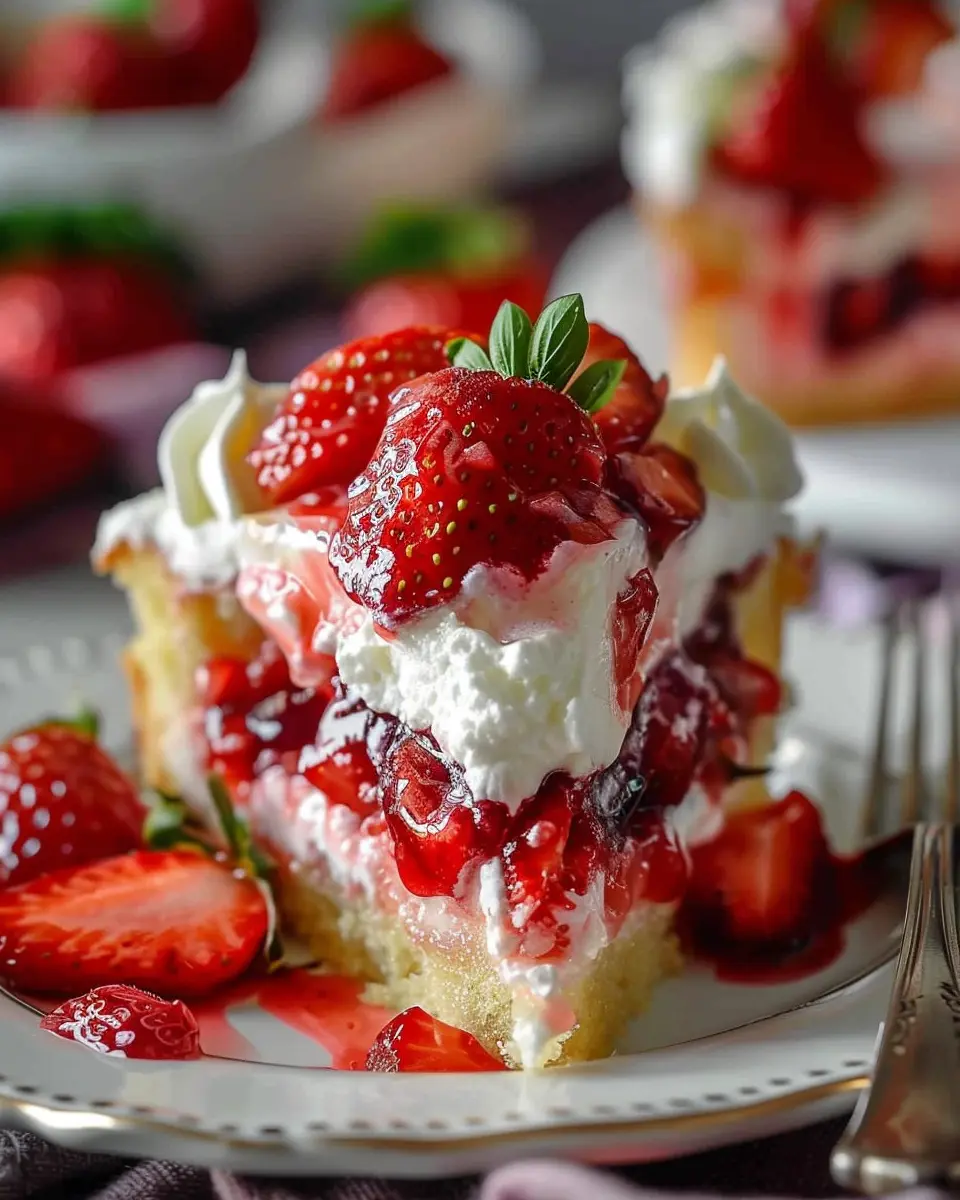
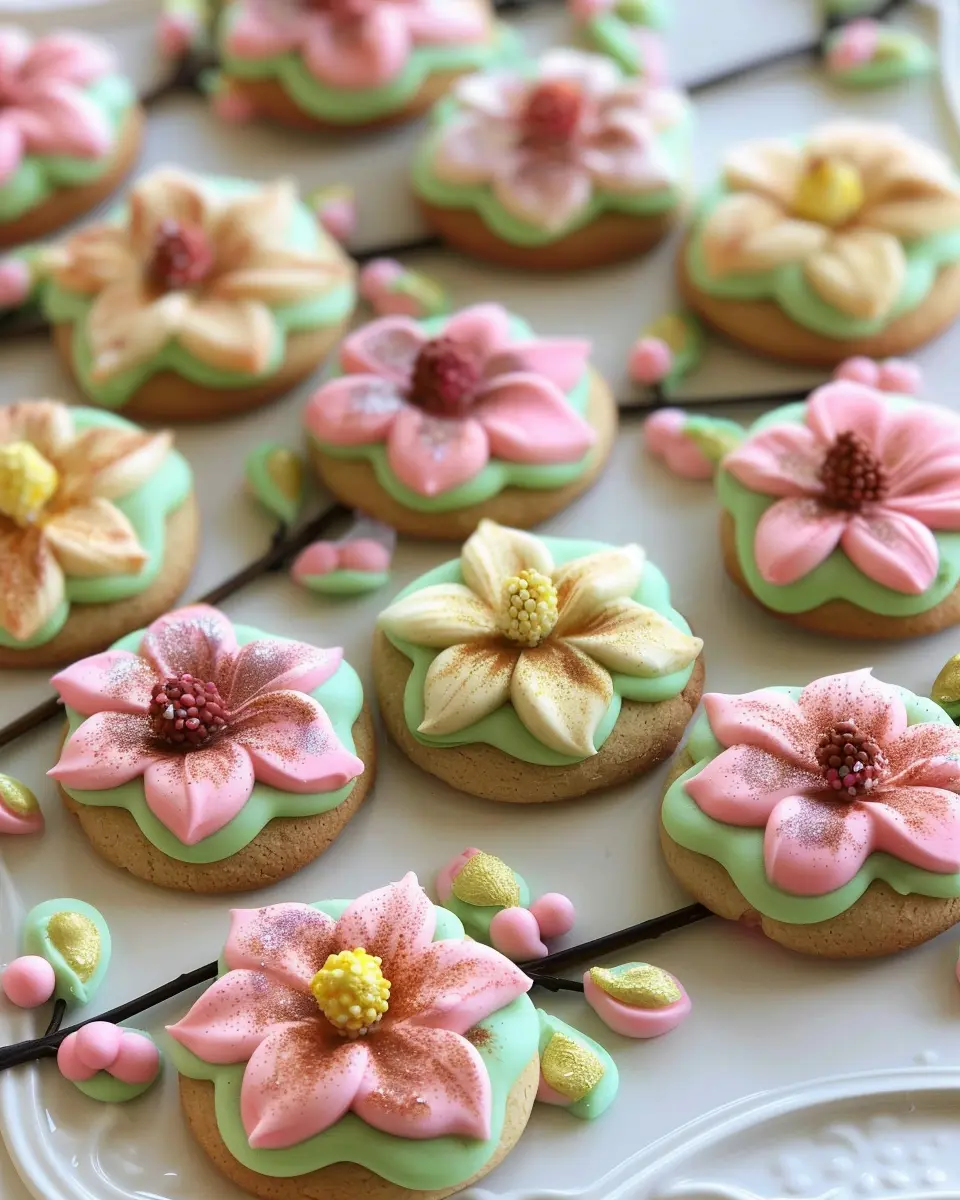
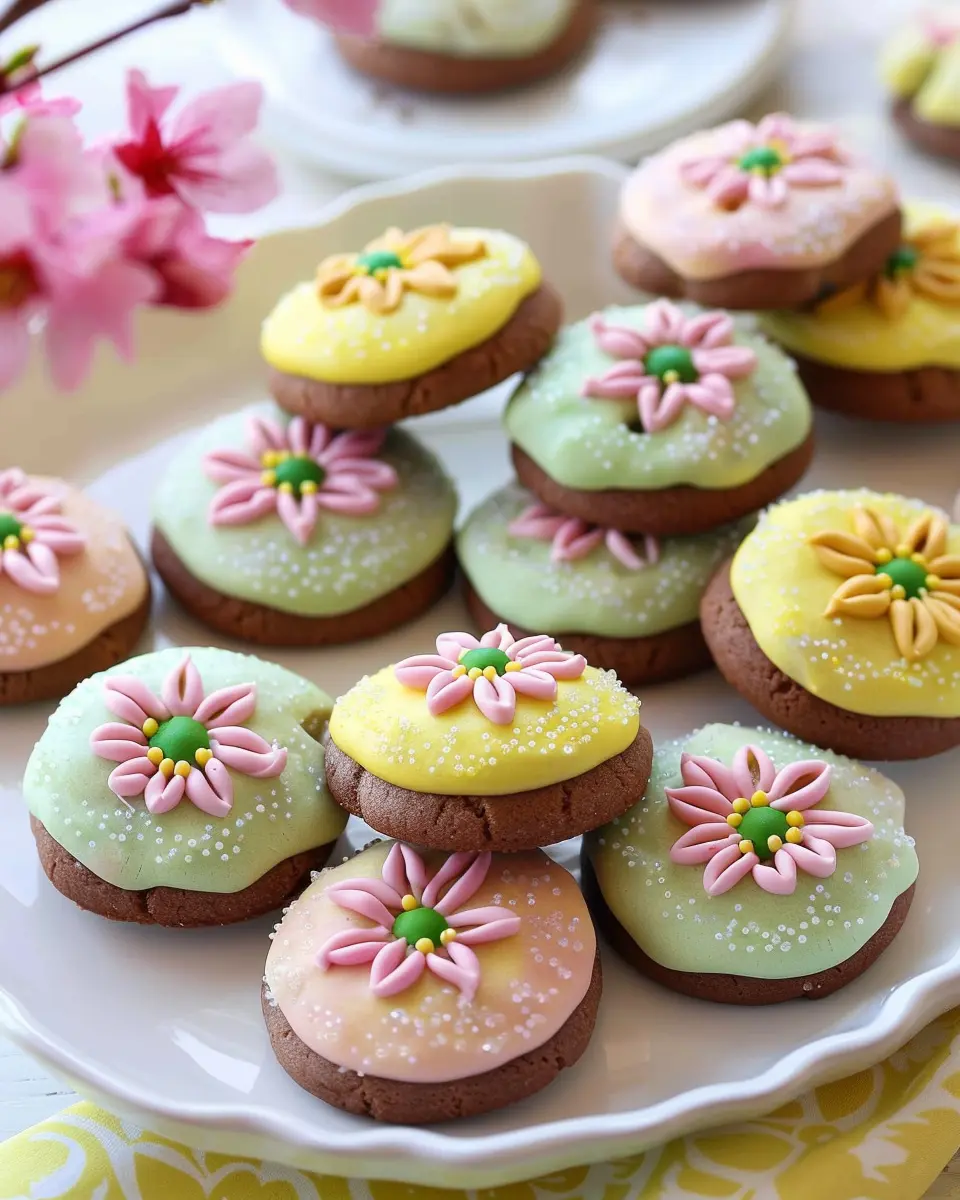
Introduction to Spring Blossom Cookies
When the world starts to awaken from its winter slumber, it’s time to indulge in the joyous flavors of the season. Spring Blossom Cookies are not just a treat; they embody the essence of spring with their delicate flavors and delightful brightness. Imagine biting into a cookie that melds the sweetness of fresh spring ingredients with a soft, buttery texture that melts in your mouth. It’s like taking a stroll through a blooming garden!
Why Spring Blossom Cookies Are the Perfect Treat?
Spring Blossom Cookies bring a touch of magic to any gathering. The vibrant colors and fragrant flavors are reminiscent of the season itself, making them a delightful addition to holiday celebrations, picnics, or simply a cozy afternoon at home. Here’s why they should be on your baking radar:
-
Fresh Ingredients: By incorporating seasonal ingredients, these cookies highlight the flavors of spring. Think lemon zest, almond extract, or even floral notes like lavender! Using fresh and high-quality produce not only enhances taste but also appeals to a health-conscious demographic, which is increasingly important among young professionals today.
-
Versatility: These cookies are incredibly versatile. You can swap out ingredients based on what you have available or what you love most. Want to use Turkey Bacon for a savory-sweet twist? Go for it! Looking for a gluten-free alternative? There are options for that too!
-
Easy to Make: With a straightforward recipe, making Spring Blossom Cookies is as easy as a sunny day. Whether you’re a seasoned baker or a novice, you’ll find joy in the simple steps. Plus, you can get creative with anyone who wants to join in. It’s the perfect way to bond over a bowl of dough.
-
Perfect for Gifting: Who wouldn’t love homemade cookies as a gift? Present them beautifully in a box, and they’ll light up anyone’s day, making you the star of any potluck or community event.
In short, if you want to brighten your day or someone else’s, Spring Blossom Cookies are the way to go. They are not just about taste; they’re about celebrating the joy of spring in every bite. So let’s get creative and whip up a batch that radiates sweetness and warmth!
Ingredients for Spring Blossom Cookies
Essential Ingredients for the Cookies
When it comes to baking the perfect spring blossom cookies, you’ll want to gather a delightful mix of ingredients that come together to create those light, airy bites we all love. Here’s what you’ll need:
- All-purpose flour: The foundation for your cookies, ensuring they’re soft yet structured.
- Granulated sugar: Sweetness is key! This will add that lovely sugary crunch.
- Butter: Use unsalted butter for richness and a melt-in-your-mouth texture.
- Eggs: Fresh eggs will bring everything together, helping to create that soft, chewy consistency.
- Baking powder and baking soda: For the perfect rise, making your cookies light and fluffy.
- Vanilla extract: A splash of vanilla enhances the overall flavor beautifully.
For more information on ingredient substitutions or the science behind baking, check out this detailed guide.
Fun Add-ins to Consider
While the basics are essential, don’t be afraid to get a bit creative with your spring blossom cookies! Here are some tasty add-ins that can take your cookies from good to amazing:
- Chocolate chips: Classic, but a must-have for that gooey texture!
- Nuts: Chopped pecans or walnuts add a lovely crunch.
- Dried fruits: Think cranberries or cherries for a tart burst.
- Zest: A hint of lemon or orange zest can brighten up the flavors.
Feel free to mix and match any of these add-ins to make your cookies uniquely yours! Experimenting with textures and flavors not only makes the baking process fun but also results in delicious treats you’ll want to share.
Step-by-Step Preparation of Spring Blossom Cookies
If you’re ready to embrace the delightful flavors of spring, making spring blossom cookies is a fun and rewarding choice! These cookies are not only tasty, but they also bring a touch of seasonal flair to any table. So, let’s dive into the preparation with these easy-to-follow steps.
Gather Your Ingredients
Before you start the cookie magic, it’s important to gather all your ingredients. Here’s what you’ll need:
- 2 ¾ cups all-purpose flour
- 1 teaspoon baking soda
- ½ teaspoon salt
- 1 cup unsalted butter, softened
- 1 cup granulated sugar
- 1 cup brown sugar, packed
- 2 large eggs
- 2 teaspoons vanilla extract
- 1 cup chocolate chips or sprinkles (your choice for decoration)
Having everything on hand will not only streamline your process but also make for an enjoyable baking experience—no frantic searches in the pantry!
Preheat and Prepare Baking Sheets
With ingredients ready, it’s time to give your oven some love. Preheat it to 350°F (175°C). This ensures that your spring blossom cookies cook evenly. While the oven is heating, line your baking sheets with parchment paper. This helps prevent sticking and makes cleaning up a breeze. Plus, your cookies will have that perfect, soft texture we all treasure!
Mix Dry Ingredients
In a medium-sized bowl, whisk together your dry ingredients:
- Flour
- Baking soda
- Salt
Mixing these beforehand helps ensure the baking soda is evenly distributed, leading to perfectly risen cookies. This simple step makes a notable difference. You might want to check out these tips on baking essentials to deepen your knowledge further.
Cream Butter and Sugar
In a large mixing bowl, it’s time to creamer the butter and sugars. Using an electric mixer, beat together the softened unsalted butter, granulated sugar, and brown sugar until the mixture becomes light and fluffy—about 3-5 minutes. This air incorporation is crucial for that delightful texture. Did you know that airy dough leads to softer cookies? Now you do!
Combine Everything into Dough
Once your butter and sugar are well-creamed, you’ll add the eggs and vanilla extract. Beat until combined. Then, gradually add your dry mix to this wet mixture, blending until a smooth dough forms. You don’t want to overmix here, as that could lead to tough cookies. Think of how you want your spring blossom cookies to be – tender and melt-in-your-mouth!
Shape the Cookies and Add Blossoms
Now comes the fun part! Using a cookie scoop or spoon, drop rounded balls of dough onto your prepared baking sheets, leaving some space between each to allow for spreading. Press a chocolate chip or sprinkle into the center of each cookie dough ball. This not only adds flavor but gives them that charming “blossom” look.
Bake to Perfection
Slide your baking sheets into the oven and bake for about 10–12 minutes or until the edges are golden. The centers should be soft but set, ensuring that delightful chewiness when you take a bite. Pro tip: Allow the cookies to cool on the baking sheets for a couple of minutes before transferring them to wire racks. This pays off with the perfect texture!
Making spring blossom cookies isn’t just about baking; it’s about enjoying the process and creating moments. Who doesn’t love a kitchen filled with warm, inviting scents?
Feeling inspired? Try experimenting with different mix-ins like nuts or dried fruits for varied flavors each time. Happy baking!

Variations on Spring Blossom Cookies
Spring Blossom Cookies are delightful and versatile, making them a great canvas for various dietary needs and flavor preferences. Here are some fun variations that can cater to everyone at your table.
Nut-Free Spring Blossom Cookies
If you’re looking to whip up nut-free spring blossom cookies, simply swap out any nut-based ingredients with seeds or seed butters! Sunflower seed butter is a fantastic choice that mimics the creaminess of traditional nut butters without triggering allergies. Ensure that all other ingredients, such as chocolate chips or toppings, are also nut-free.
Recipe Tips:
- Use sunflower seeds as a crunchy topping.
- Substitute almond flour with oat flour for a perfect texture.
For further information on allergy-safe baking, check out Kids With Food Allergies.
Vegan Spring Blossom Cookie Adaptation
Craving those sweet, fluffy spring blossom cookies but on a plant-based journey? You can easily transform these cookies into a delicious vegan treat! Replace the eggs with flaxseed meal mixed with water (one tablespoon of flaxseed meal combined with two and a half tablespoons of water = one egg) and substitute dairy butter with coconut oil or a vegan butter alternative.
Recipe Tips:
- Add a hint of almond extract for a delightful flavor twist.
- Explore vegan chocolate chips for an indulgent treat that everyone will enjoy.
Adapting recipes for various dietary preferences can be a fun challenge. Not only does it promote inclusivity at gatherings, but it also encourages creativity in the kitchen. Want to learn more about vegan baking techniques? Visit the Vegan Society.
With these variations, your spring blossom cookies will cater to every guest’s taste while keeping the essence of spring in every bite!
Cooking Tips and Notes for Spring Blossom Cookies
Ensuring Soft and Chewy Texture
To achieve that delightful chewy texture in your spring blossom cookies, be mindful of a few key elements. First, don’t overmix the dough; stirring just until the ingredients are combined helps keep them tender. Using room-temperature butter can make a big difference, as it creams better with sugar, resulting in a fluffier base. If you want that perfect spring blossom cookies texture, consider adding a touch of cornstarch to the flour—this little trick can work wonders!
Storage Tips for Freshness
Once your cookies are baked to perfection, you’ll want to make sure they stay fresh for as long as possible. Store your spring blossom cookies in an airtight container at room temperature for up to one week. If you need them to last even longer, consider freezing them. Just place them in a single layer on a baking sheet until solid, then transfer to a freezer-safe bag. This way, you’ll have a delicious treat ready whenever the craving strikes! For more specialized storage tips, check out this guide on cookie preservation.

Serving Suggestions for Spring Blossom Cookies
Creative Ways to Serve Your Cookies
When it comes to spring blossom cookies, presentation is just as important as taste. These delightful treats can be served in various creative ways:
- Cookie Stands: Arrange your cookies on colorful tiered stands for a visually striking centerpiece at any gathering.
- Baskets: Place them in small, floral-themed baskets lined with pastel tissues for a charming picnic spread.
- Gift Boxes: Package them in decorative boxes to give as charming gifts—the bright colors evoke the beauty of spring.
Pairing Options for Enjoyment
To elevate the experience of enjoying your spring blossom cookies, consider pairing them with:
- Fresh Mint Tea: The lightness of mint tea complements the delicate flavors of the cookies beautifully.
- Iced Coffee: A chilled brew, whether classic or flavored, can be a refreshing counterpoint to the sweetness of the cookies.
- Fruit Juices: Opt for citrusy beverages like orange or grapefruit juice for a zesty twist.
With these suggestions, your spring gatherings will be infused with joy and color, creating memories for everyone involved. For more serving ideas, you can explore resources like The Spruce Eats and Epicurious for additional inspiration. Happy baking!
Time Breakdown for Spring Blossom Cookies
When you’re ready to bake a batch of delightful spring blossom cookies, it’s handy to know how much time you’ll need. Here’s a quick breakdown to keep your baking on track.
Preparation Time
First things first, set aside about 15 minutes to gather your ingredients and prep the dough. It’s a great chance to get into the spring spirit by playing some upbeat music!
Baking Time
Once your dough is ready, expect to spend around 10-12 minutes in the oven. Keep an eye on those lovely cookies to ensure they reach a perfect golden hue.
Total Time
In total, you’re looking at about 30 minutes from start to finish. That’s a perfect window for a baking break in your busy day! Check out more time-saving recipes on Serious Eats for your next culinary adventure.
Nutritional Facts for Spring Blossom Cookies
Calories per Cookie
Each Spring Blossom Cookie comes in at approximately 100 calories. This makes it a delightful treat without compromising your daily caloric goals. Perfect for an afternoon pick-me-up, these cookies are less about guilt and more about enjoyment.
Key Nutritional Highlights
- Whole Ingredients: Most recipes use whole grains and natural sweeteners, giving these cookies nutritional strength.
- Healthy Fats: A blend of nuts or coconut oil can provide energetic fats, supporting heart health.
- Fiber Content: Depending on your choice of flour, Spring Blossom Cookies can be a good source of dietary fiber, aiding digestive health.
Want to add more guidance on healthy eating? Check out the Harvard Nutrition Source for tips on balanced diets. And don’t forget to explore recipes that use ingredients like almond flour for added nutrients and flavor!
FAQs about Spring Blossom Cookies
How do I make my cookies more chewy?
If you’re aiming for that perfectly chewy texture in your Spring Blossom Cookies, try a few simple adjustments. First, consider using more brown sugar than white sugar; brown sugar retains moisture and creates that delightful chewiness. Additionally, chill your dough for at least 30 minutes before baking. This will help the cookies maintain their shape while creating a chewy interior. Baking at a slightly lower temperature can also help; aim for around 325°F instead of 350°F to keep that soft center.
Can I freeze Spring Blossom Cookies?
Absolutely! Freezing your Spring Blossom Cookies is not only easy, but it’s also a fantastic way to enjoy them later. Once baked, allow the cookies to cool completely, then stack them in an airtight container with parchment paper between layers. They can last in the freezer for up to three months. Alternatively, you can freeze the dough itself—just scoop and freeze it in cookie-sized portions, then bake directly from the freezer. Just add a minute or two to the baking time.
What’s the best way to store them?
To keep your Spring Blossom Cookies fresh and delectable, store them in an airtight container at room temperature for up to a week. If you want to keep them for even longer, consider adding a slice of bread to the container; it helps absorb excess moisture and keeps the cookies chewy. For more tips on cookie storage and shelf life, check out resources from the USDA.
With these handy tips, you’ll be well on your way to enjoying your Spring Blossom Cookies as they were meant to be—fresh and delightful!
Conclusion on Spring Blossom Cookies
Why You’ll Love Making These Cookies at Home
There’s something truly special about crafting spring blossom cookies in your own kitchen. Not only do they fill your home with delightful aromas, but they also allow you to share a piece of joy with friends and family. Here’s why you’ll be reaching for this recipe time and again:
- Fresh Ingredients: You control what goes in, ensuring each bite is made with love and quality.
- Creative Experience: The decorating options are endless—let your imagination flow!
- Perfect for Any Occasion: Whether celebrating a spring gathering or simply enjoying a cozy evening, these cookies fit right in.
So grab your mixing bowl, and enjoy the delightful journey of making spring blossom cookies that everyone will cherish. For more baking tips, check out The Kitchn for a wealth of resources!
PrintSpring Blossom Cookies: Easy Floral Delights for Every Occasion

Delight in the beauty of spring with these easy floral-inspired cookies that are perfect for any celebration.
- Prep Time: 15 minutes
- Cook Time: 12 minutes
- Total Time: 27 minutes
- Yield: 24 cookies 1x
- Category: Dessert
- Method: Baking
- Cuisine: American
- Diet: Vegetarian
Ingredients
- 2 cups all-purpose flour
- 1 cup unsalted butter, softened
- 1 cup granulated sugar
- 1 large egg
- 1 teaspoon vanilla extract
- 1/2 teaspoon baking powder
- 1/4 teaspoon salt
- 1/2 cup edible flower petals (e.g., violets, pansies)
Instructions
- Preheat the oven to 350°F (175°C).
- In a bowl, cream together the butter and sugar until light and fluffy.
- Add the egg and vanilla extract, mixing until well combined.
- In another bowl, whisk together the flour, baking powder, and salt.
- Gradually add the dry ingredients to the wet mixture, stirring until just combined.
- Gently fold in the edible flower petals.
- Drop spoonfuls of dough onto a baking sheet lined with parchment paper.
- Bake for 10-12 minutes or until the edges are lightly golden.
- Allow to cool on the baking sheet for a few minutes before transferring to a wire rack.
Notes
- For a decorative touch, sprinkle additional flower petals on top before baking.
- Ensure the flowers used are pesticide-free and safe for consumption.
Nutrition
- Serving Size: 1 cookie
- Calories: 120
- Sugar: 8g
- Sodium: 50mg
- Fat: 8g
- Saturated Fat: 5g
- Unsaturated Fat: 2g
- Trans Fat: 0g
- Carbohydrates: 12g
- Fiber: 0g
- Protein: 1g
- Cholesterol: 25mg
Keywords: Spring Blossom Cookies, floral cookies, easy cookies, spring recipes